Upload, tune, preview, and export in one converter panel

The converter now handles the full workflow in one place: upload a source image, choose a style and color mode, refine settings, then copy or download the result immediately.

Style

Color Mode

Settings

70
60
50
60
30
A

Your ASCII art will appear here

Upload an image and adjust settings to see the result

What Image To ASCII Dots Means

Image to ASCII dots is a more specific version of image-to-ASCII conversion. Instead of pushing every tonal change into a heavy character ramp, the output uses a lighter dot-based structure that feels more open and graphic.

That makes dots-style ASCII useful when the goal is not maximum text density, but a cleaner visual rhythm for showcase sections, technical layouts, and experimental poster treatments.
When To Use A Dots-Style ASCII Output

Use dots-style ASCII when a dense terminal look feels too heavy. It works well for gradients, soft landscapes, abstract cover art, and colorful visual blocks where you want the source image to stay recognizable without filling every area with dense characters.

It is also a practical choice for pages that need an image-to-ASCII effect while preserving more whitespace and a lighter grid impression across the composition.

How To Get Better Results

Start with images that already have strong large-shape separation. Then keep density moderate, avoid over-sharpening, and use color mode when the source palette contributes meaningfully to the result.

If the output becomes muddy, reduce detail before increasing width again. If it becomes too faint, raise contrast slightly so the dots carry clearer structure without turning the result into a dense text block.

How This Connects To Image2ASCII

Image2ASCII already supports this direction through its dots-style preset and existing gallery examples. This landing page makes that capability explicit for users searching for image to ASCII dots rather than broad image-to-ASCII terms.

The workflow stays simple: upload an image, switch to the dots-style preset, compare mono and color versions, then copy the ASCII text or export the PNG result.

How It Works

The steps now match the live converter flow

Upload image illustration
1

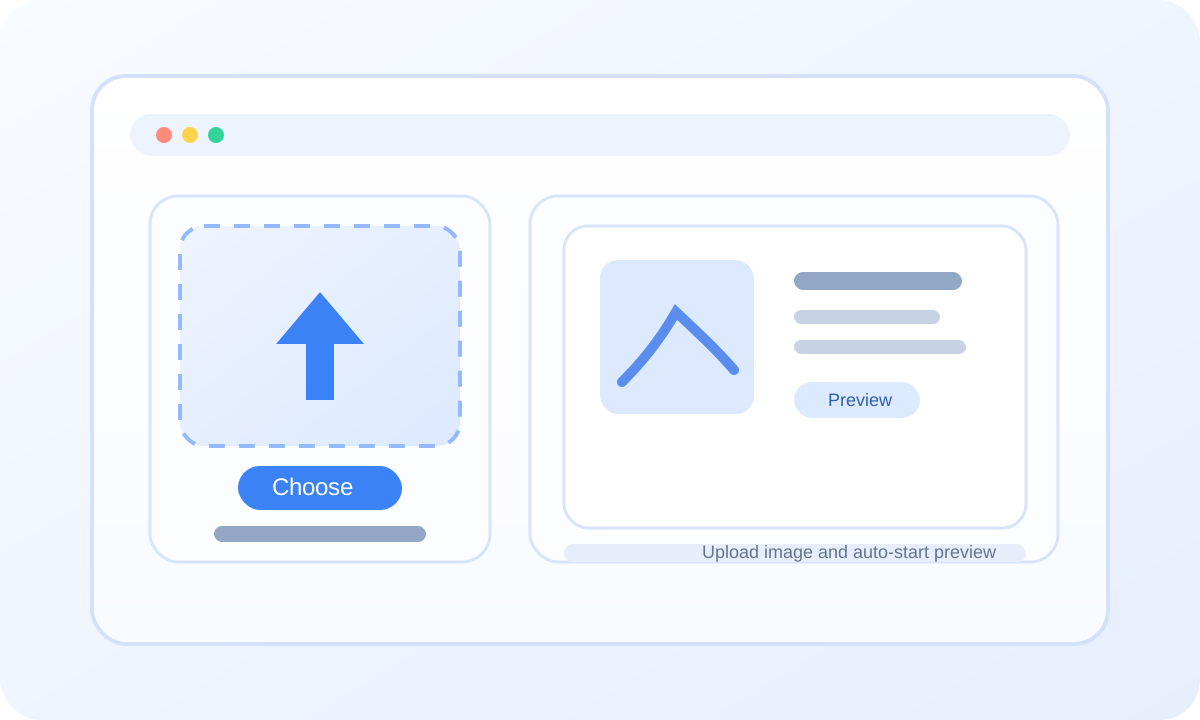
Upload an Image

Drop in a PNG, JPG, JPEG, or WEBP image to populate the source panel and start generating a live ASCII preview.

Parameter adjustment illustration
2

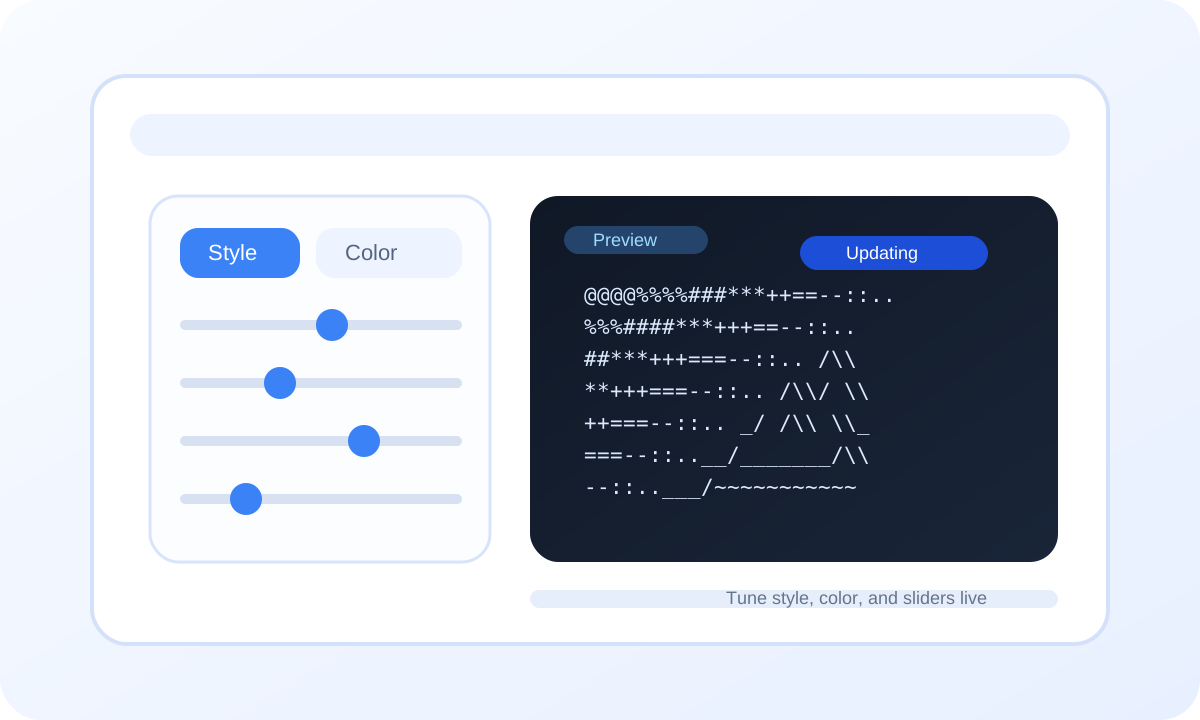
Choose Style and Tune Settings

Switch presets, toggle mono or color mode, then adjust density, contrast, brightness, detail, and smoothing while the preview refreshes.

Export result illustration
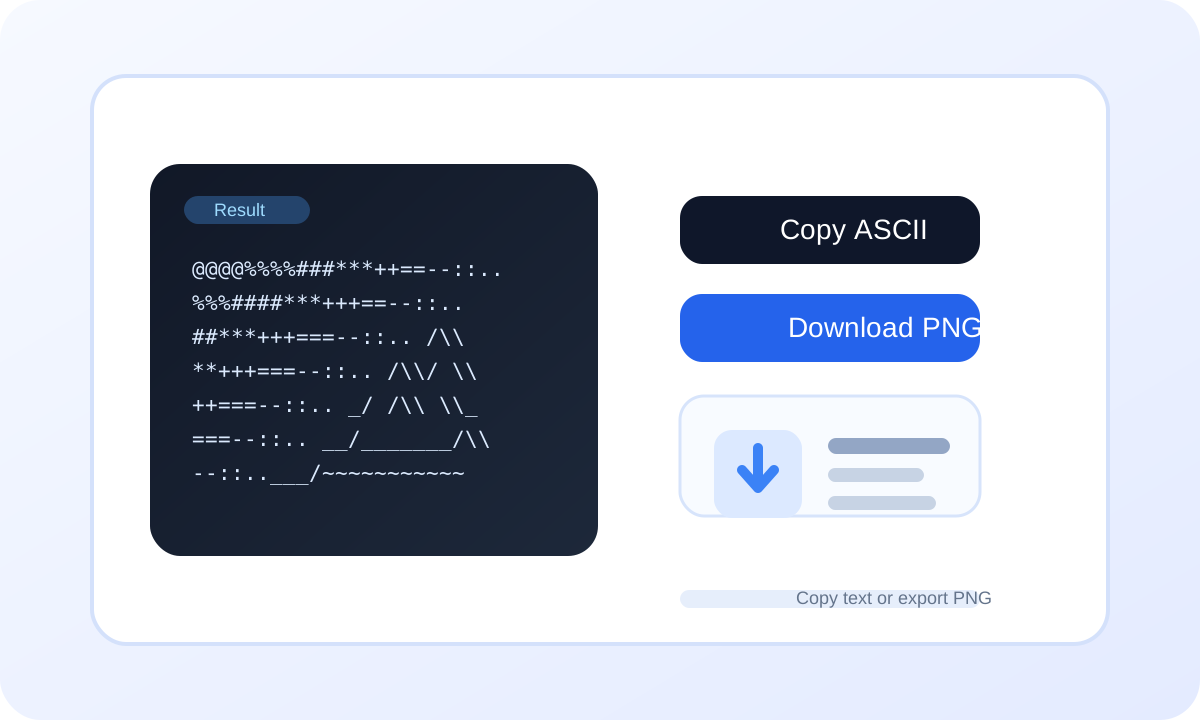
3

Copy or Download the Result

Once the preview looks right, copy the ASCII text or download the rendered PNG without leaving the converter.

FAQ

Answer the key questions before users need to ask

Common formats like JPG, PNG, and WEBP are supported. For high-resolution images, keeping the original aspect ratio usually gives better results.

Ready to turn your image into something distinctive?

Start generating AI-assisted ASCII artwork now

Start Converting